
Multiple TWS Instances
If you have accounts that require separate TWS logins, you’ll need to run multiple TWS instances on different ports.
When to Use This
Section titled “When to Use This”This applies when:
- You have accounts under different IBKR logins
- Each login requires its own TWS Desktop instance
Step 1: Configure TWS Ports
Section titled “Step 1: Configure TWS Ports”Each TWS instance needs a unique port. Configure them in TWS:
| TWS Instance | Login | Port |
|---|---|---|
| TWS #1 | user1 | 7496 (default) |
| TWS #2 | user2 | 7497 |
| TWS #3 | user3 | 7498 |
In each TWS:
- Go to File > Global Configuration > API > Settings
- Set the Socket Port to 7496, 7497, 7498, etc.
- Click OK
See TWS Configuration for detailed setup with screenshots.
Step 2: Configure Rover
Section titled “Step 2: Configure Rover”Click + Add TWS App once per TWS instance, set that group’s Port to match the instance, then click + Add Account to add the accounts reached through it. The result is one group per TWS instance:
| TWS App / Account ID | Account Name | Host | Port |
|---|---|---|---|
| TWS App 1 | localhost | 7496 | |
| U00000002 | KIDS_COLLEGE | localhost | 7496 |
| U00000001 | IRA_1 | localhost | 7496 |
| U00000003 | IRA_2 | localhost | 7496 |
| U00000000 | INHERITED_ROTH | localhost | 7496 |
| TWS App 2 | localhost | 7497 | |
| U00000004 | GROWTH | localhost | 7497 |
| TWS App 3 | localhost | 7498 | |
| U00000005 | INCOME | localhost | 7498 |
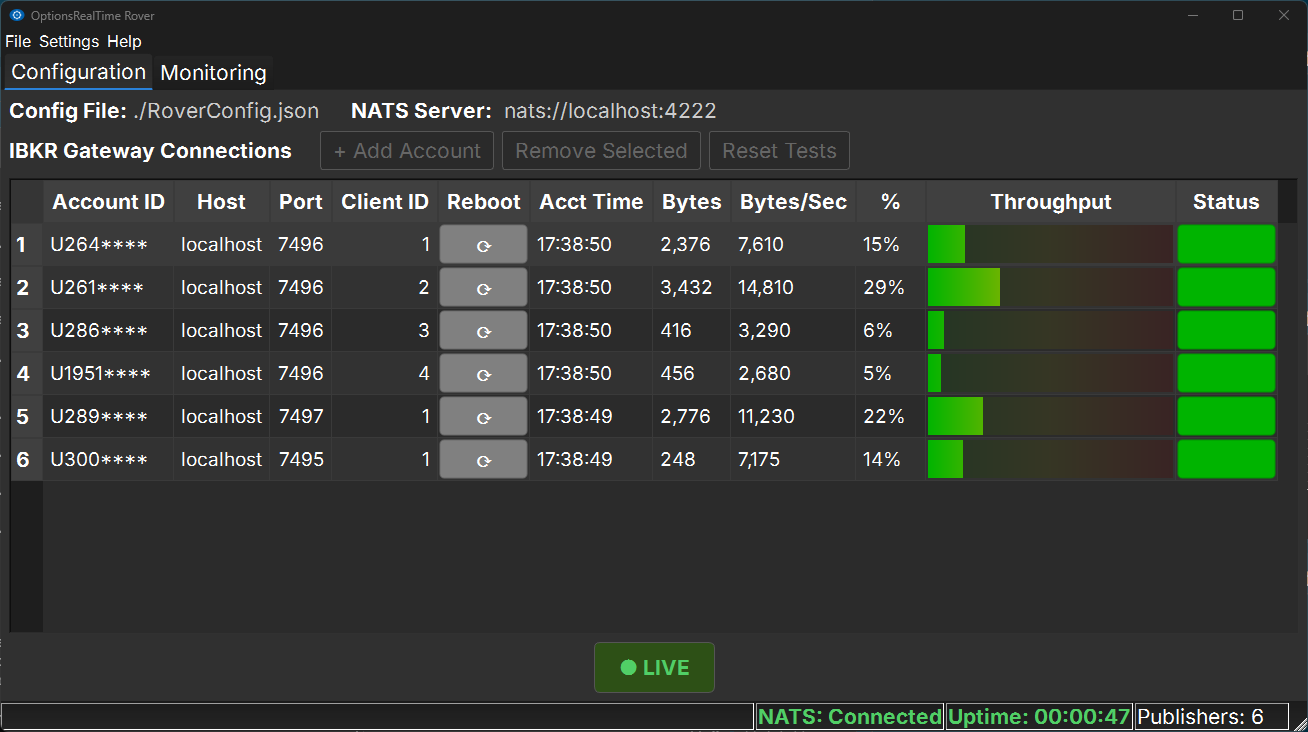
This is the same table as in Multiple Accounts, just with three groups instead of one. Each bold TWS App row is a TWS Desktop session identified by its Host and Port, and the accounts indented below it connect through that session. A group can hold one account or many: here TWS App 1 carries four, while TWS App 2 and TWS App 3 carry one each.
Key Points
Section titled “Key Points”- One TWS App per instance. Each group’s Port matches the Socket Port set in the corresponding TWS instance
- Accounts inherit their group’s connection. An account row shows the same Host and Port as the TWS App above it
- Up to 32 accounts per instance. Each TWS instance supports 32 accounts; Rover manages the connections automatically
- All TWS instances run on localhost in this example. To reach TWS on another machine, set that group’s Host instead — see Multi-Machine Setup
Step 3: Test, Save and Start
Section titled “Step 3: Test, Save and Start”- Ensure all TWS instances are running and logged in
- Click Test in each account row; the View column reads PASS and Result shows the connection detail
- Go to File > Save (Ctrl+S)
- Click Start Account Analyzers
The groups stay in place once the analyzers are running, with the setup columns replaced by the live %, Data Flow, and Status columns. Check the status bar to confirm every instance came up: it reads Accounts 6/6 when all six analyzers are connected. A short count (Accounts 5/6) points at one account — check its Status and the TWS session behind its group.
Step 4: Launch OptionsRealTime
Section titled “Step 4: Launch OptionsRealTime”Click the Web UI button at the top of Rover, or open any browser on your network and type the address shown on the button. For example: http://MyMachineName.local:5000
All accounts from all TWS instances are available. Select one, several, or all. Charts, metrics, quotes, tables and reports update based on your selection.
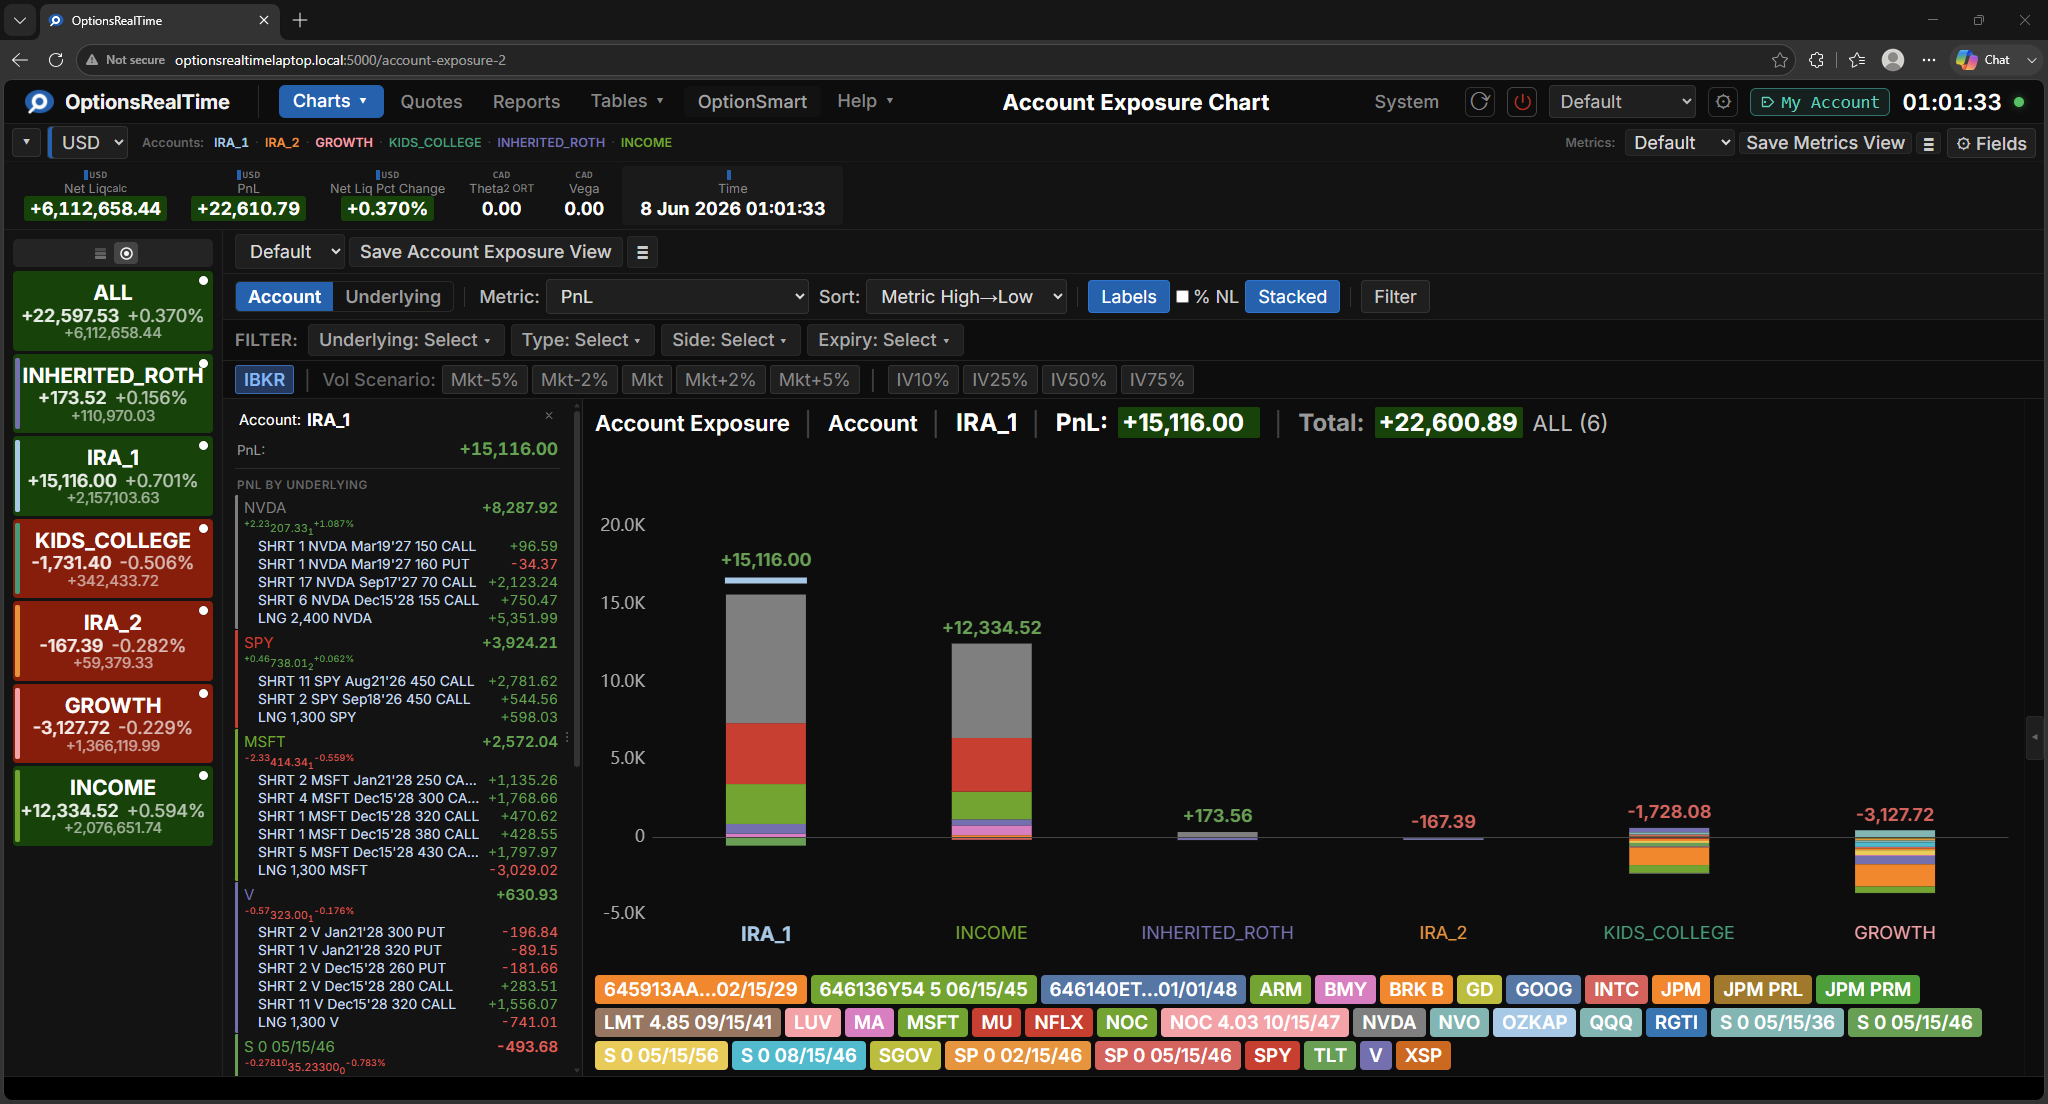
Accounts from every TWS instance are listed together in the selector on the left, shown here by name and color-coded consistently across every view.
What’s Next?
Section titled “What’s Next?”Multi-Machine Setup
Run OptionsRealTime on a different machine than TWS